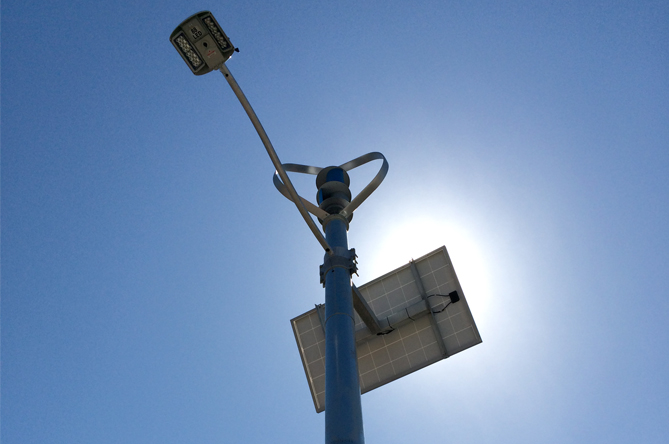
We were recently awarded the contract to install an Off Grid Street Lighting system for a local college to be used as an outdoor lab for their students in the Engineering Department. Due to the many advantages of these light poles we are seeing more and more of them being installed by municipalities and commercial and industrial clients and the college wants to ensure their students are familiar with the technology when they graduate. I documented the install and thought it may be of interest to our readers to see how easy the poles are installed.
Step 1
Assemble the Pole and Mount the Hardware:
For this project we chose the sectional steel pole, which is a 35’ galvanized steel pole that fits together by sliding each successively smaller section over the lower section. This is the same process they use for those giant light poles along major highways. The pole arrives on a standard skid and can easily be assembled by two people with a block of wood and a sledgehammer.
Once the pole is assembled, we mounted the attachment arms, solar panel, wind turbine and LED light.
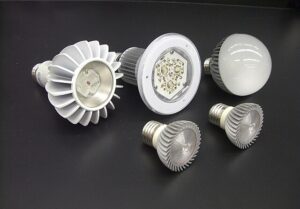
For this project we used the Roadway 88W LED street light, a 250W solar panel and the Daisy DS300W wind turbine.
Step 2
Dig the hole, insert base section and backfill:
The safest and cleanest way to excavate the hole is to use a HydroVac. This is basically a large vacuum truck that uses high pressure water to break up the soil and a vacuum attachment to suck up the loose dirt. There is very little risk of cutting into any services (underground utility and communication lines) that may have been missed by the locating service.
As you can see, the hole is very clean with no soil to clean up and remove from site. The base section of pole is then inserted in the hole, back filled and compacted using an appropriate fill for the surrounding soil conditions.
Step 3
Mount the pole on the base:
The pole and all components weighs just over 1,000 lbs so a simple bucket truck easily handled the install. Once attached to the base, the final wiring was done and the sun and wind got to work charging the batteries.
As you can see the process is very simple and the pole was installed and running in less than a day.


